Welcome to the next in a series of tips on using Microsoft Word, geared towards authors.
Most Word advice is rather complicated and full of things you’ll never need to know.
I shall do my best to keep it simple, because you’re not stupid… just busy.
Please note:
– Not all versions of Word are the same, but most are near enough.
– There are different ways of doing the same thing. I shall demonstrate just one (or two).
I was all ready to save you from automatic saves, today, but it turns out you don’t need saving, although your document does!
Once upon a time, Word’s default was to automatically save documents regularly. This meant that if you messed up your document by, for example, replacing a word that appears within other words (see Word Tip 7), you coudn’t return to the saved version because it had been automatically saved in the meantime.
But that is no longer the case. Now, if you look at:
File → Options → Save
you’ll see something called AutoRecover, which is probably set to jump into action every 10 minutes. This is good, I think. AutoRecover doesn’t affect your document; it saves its own version. If you close your computer without saving, if an update happens while you’re away from the computer, you will be offered the option of using the AutoRecover version.
However, as Microsoft says:
Important: AutoRecover does not replace the Save command. You must still save your document when you finish working on it.
Not just when you finish, in my opinion. Get into the habit of pressing Ctrl/S frequently. This is the best way of making sure you don’t lose a large chunk of work. And don’t forget to do backups.
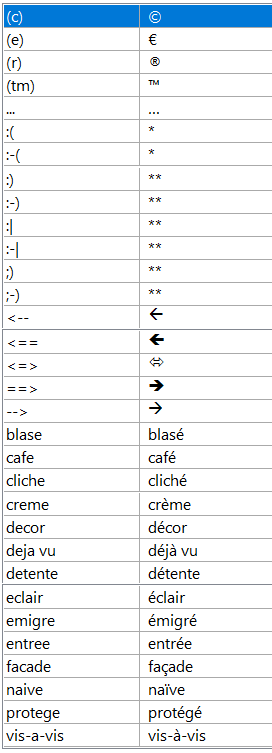
Next week: about diacritic marks and apostrophes.
Links to Previous Word Tips
- Tip 1: A Matter of Style
About heading styles. - Tip 2: Make Your Novel a Trampoline
How to jump swiftly and gracefully between chapters. - Tip 3: That’s Not What I Wrote
How to stop Word making changes you don’t want. - Tip 4: How Not to Jump to a New Page
Press Enter until a new page appears? Please don’t. - Tip 5: How Not to Indent a Line
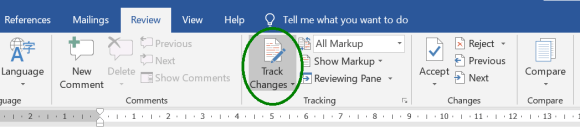
The space bar is not for indentation. - Tip 6: Track and Compare
About Track Changes, Compare and Combine. - Tip 7: Replacement Operation
Pitfalls of find and replace.